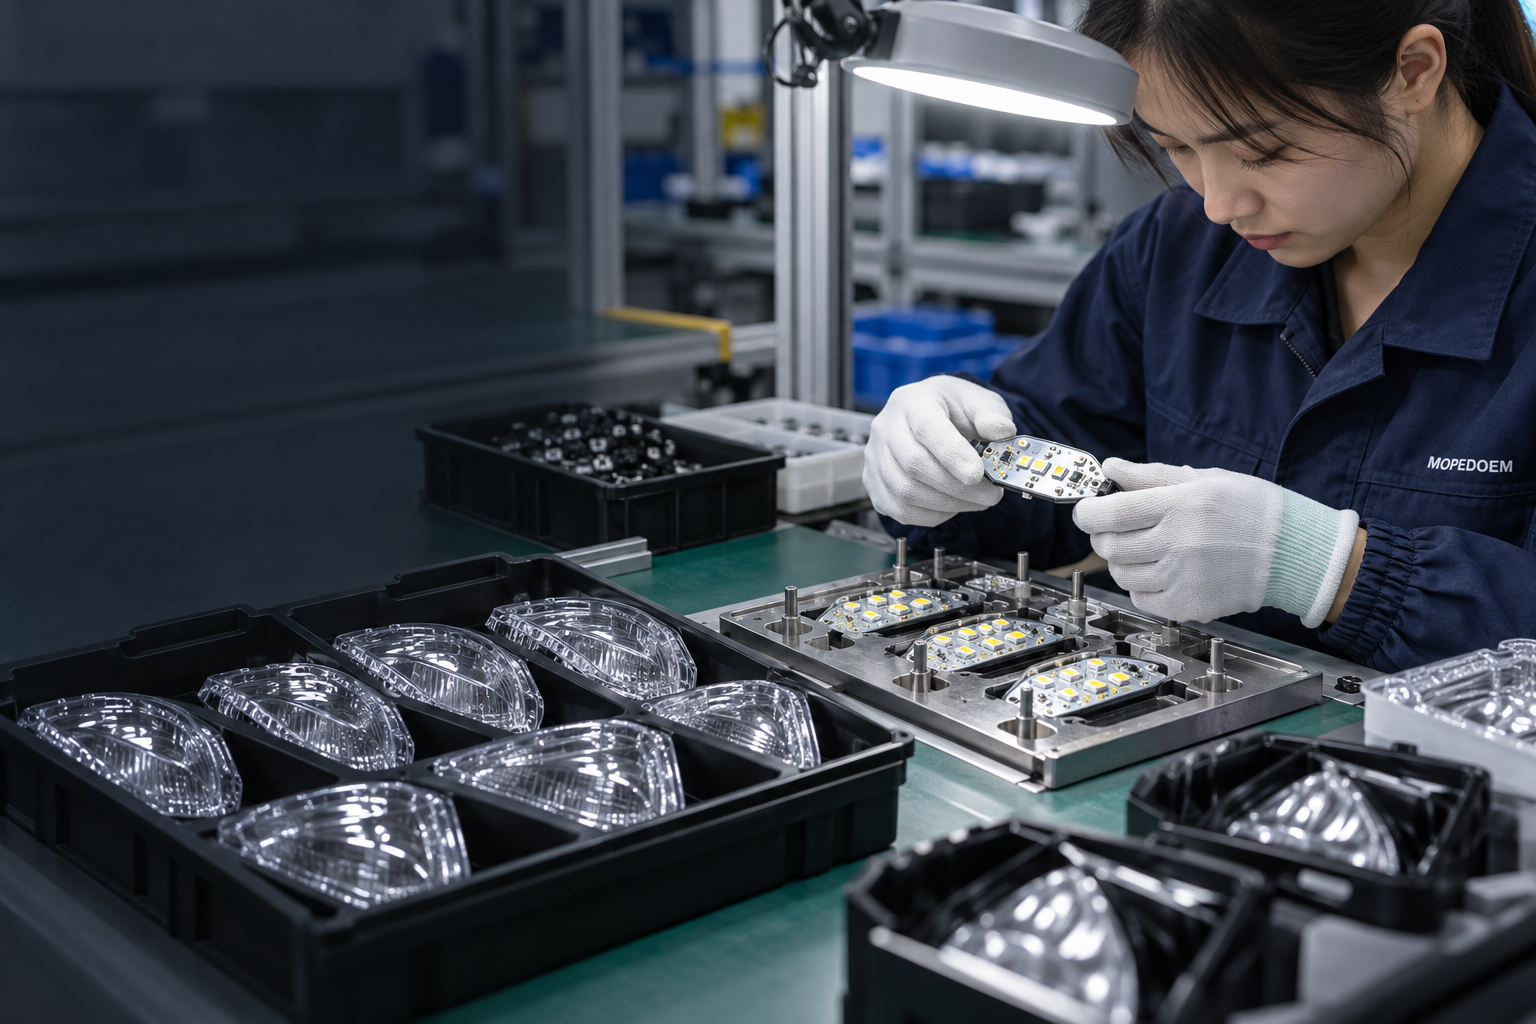
How LED vehicle lights are madeElectric two-wheelers · LED vehicle lighting
MOPEDOEM · Back to production partners

Four main stages · General process illustration

From a light source
to a controlled beam.

Enter the workshop and follow the process. Scroll down to see the scene and manufacturing points at each stage.

General manufacturing illustration · Not a record from a partner supplier’s site

AI-generated photographic-style illustration · Not an on-site photographic record

LED vehicle lighting · Process imageryPHOTOGRAPHIC PROCESS STUDY · AI GENERATED

Four main stages. Expand each one to review the process details.

Choose a stage to enter its chapter. Every image is an AI-generated photographic-style illustration; process parameters follow the actual work instructions.

Written process guide

Generic process illustrations, not evidence of a factory owned by our company. Actual work instructions and acceptance requirements must be confirmed for the order.

Light-source modules and incoming inspection

Check lamp housings, lenses, reflectors and LED modules. Assemble and inspect the circuits according to the selected design.

  1. Check optical components, housings and circuit revisions against the drawings and bill of materials. Distinguish purchased modules from in-house circuits.
  2. Assemble in-house circuits using the approved process and inspect solder joints, polarity and connections. Accept purchased modules against the incoming inspection specification.
  3. Confirm the module fits the thermal management, driver and mounting design. Record issues that require segregation and follow-up.
Optical and structural assembly

Fit the light source, reflector or lens assemblies into their locating features. Protect the optical surfaces and verify positioning.

  1. Protect lenses and reflective surfaces under the specified cleanliness conditions to prevent fingerprints, particles and scratches.
  2. Secure the light source and thermal management components according to the design. Do not substitute arbitrary adhesives or generic torque settings for process requirements.
  3. Check the positions of the lenses, reflectors and adjustment mechanisms. Verify that nothing is reversed, loose or interfering with another part.
Lamp body assembly and sealing

Seal and join the lamp assembly as specified for the lamp model. Inspect the wiring outlet, interfaces and housing.

  1. Confirm the joining surfaces, seals or sealants are compatible with the lamp body material. Different lamp models may require different joining processes.
  2. Assemble and cure where required according to the process specification. There is no universal sealant quantity, temperature or duration.
  3. Inspect joints and seals according to the product inspection plan. Any actual ingress protection rating must be supported by evidence for the specific product.
Power-on, optical checks and packaging

Check function, optical performance and appearance according to the inspection plan. Resolve and close any issues before protective packaging.

  1. Use a suitable power supply at a controlled workstation to check function and connections. Do not infer actual performance from the brightness shown in the images.
  2. Arrange beam distribution, thermal, environmental or other required tests according to the applicable product plan. A power-on check is not certification.
  3. Review results and batch details, protect the lenses, interfaces and included materials, and pack according to the order.

    Images are AI-generated process illustrations, not actual factory photographs. Clicking a step displays an explanation; it does not mean equipment in the image is playing the corresponding action.